Machine embroidery plays a significant role in the textile industry, allowing for the creation of intricate and visually stunning designs on fabric. One of the critical aspects that contribute to the quality of machine embroidery is digitizing. True digitizing is a process that involves converting artwork into digital embroidery files, optimizing stitch types and densities, and selecting appropriate threads and colors. In this comprehensive guide, we will delve into the world of true digitizing, exploring its techniques, tips, troubleshooting, and future trends.
Table of Contents
True digitizing is the process of transforming artwork or designs into digital files that can be read by embroidery machines. Unlike basic digitizing, which simply converts an image into stitches, true digitizing focuses on optimizing the design for maximum visual impact and quality. True digitizing takes into account various factors such as fabric type, stitch types, densities, underlay stitches, and thread selection to ensure the best possible outcome.
Conversion of Artwork into Digital Embroidery Files Converting artwork into a digital format suitable for embroidery machines requires specialized software. This step involves tracing or manually digitizing the design, assigning stitch types, and mapping colors to threads.
True digitizing involves selecting the appropriate stitch types and densities to bring out the desired details and textures in the design. This requires an understanding of how different stitch types, such as satin stitches, fill stitches, and running stitches, can be used effectively.
Thread and color selection is crucial for achieving accurate color representation and visual impact in machine embroidery. True digitizing involves considering factors such as thread thickness, sheen, and color matching to ensure the design looks its best when stitched out.
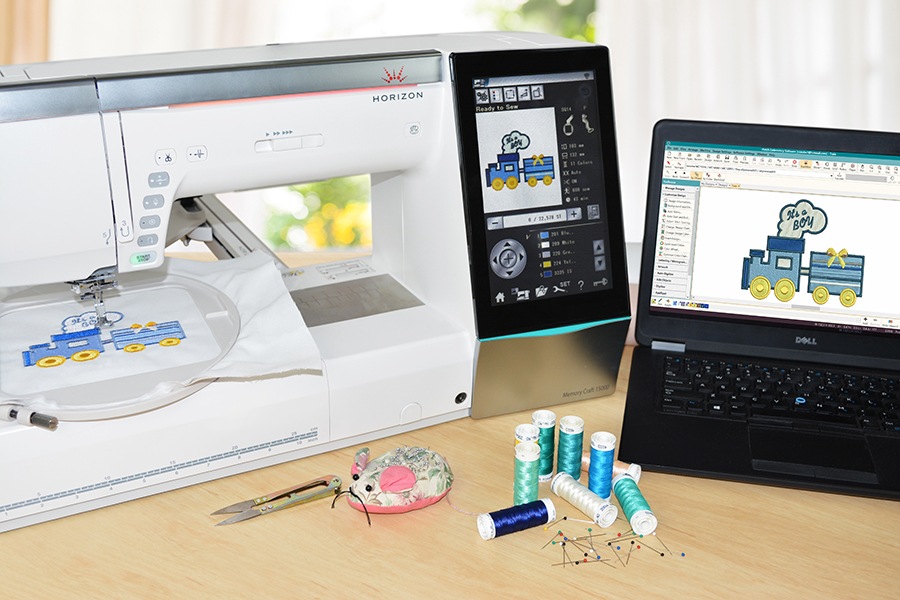
Choosing the right digitizing software is essential for achieving optimal results. Various software options are available, ranging from basic to advanced. Consider factors such as ease of use, features, compatibility, and customer support when selecting the software that suits your needs.
To master true digitizing, it’s important to have a solid understanding of the principles and functionalities of digitizing software. Familiarize yourself with tools such as stitch editing, color mapping, underlay stitches, pull compensation, and stitch length adjustments.
Before digitizing, it’s crucial to analyze the artwork or design and make any necessary enhancements. This may involve simplifying complex details, adjusting colors, and ensuring the design is suitable for the size and type of fabric.
Underlay stitches provide stability and structure to the embroidered design. Mastering the art of underlay stitches involves selecting the appropriate type (e.g., running, zigzag, or edge-to-edge) and determining the right density and stitch direction to achieve the desired effect.
Different fabrics require different stitch lengths and densities to ensure the design looks its best. Experiment with different settings to find the optimal stitch length and density for each fabric type, taking into account factors such as fabric thickness and texture.
Take your digitizing skills to the next level by incorporating specialty stitches such as 3D stitches, sequin stitches, or raised satin stitches. These stitches add texture and dimension to the design, making it visually captivating.
Advanced digitizing techniques allow for the creation of complex fills and gradients, adding depth and visual interest to the design. Experiment with different fill stitch types, such as radial or spiral fills, and utilize gradient effects to create stunning embroidered artwork.
Advanced editing tools in digitizing software enable the creation of intricate details with precision. Utilize features such as node editing, stitch angle adjustments, and stitch sculpting to refine the design and bring out its intricate elements.
Appliqué and 3D effects can take machine embroidery to new heights. Learn how to digitize and incorporate appliqué designs into your embroidery projects, as well as techniques for creating 3D effects through layering and dimension.
Even experienced digitizers encounter errors in their designs. Learn to identify and resolve common issues such as thread breaks, gapping, puckering, and registration errors. Troubleshooting skills are crucial for producing high-quality embroidery.
Before stitching out a design, it’s essential to conduct thorough quality checks on the digitized embroidery file. Check for proper stitch coverage, clean paths, appropriate stitch lengths, and accurate color mapping to ensure the design will stitch out as intended.
Fine-tuning digitized designs is often necessary to achieve the desired outcome. Learn techniques such as adjusting stitch densities, resizing designs, resequencing stitches, and refining underlay stitches to optimize the design for different fabrics and sizes.
Explore real-world examples of successfully digitized embroidery projects. Analyze the digitizing techniques used, stitch types employed, and the overall approach to achieve high-quality results. Case studies provide valuable insights and inspiration for your own digitizing endeavors.
Delve into the digitizing process and techniques used in each case study. Understand the decision-making behind stitch selections, color choices, underlay stitches, and other factors that contribute to the success of the digitized design.
Machine embroidery digitizing continues to evolve with advancements in technology. Stay informed about emerging trends such as AI-assisted digitizing, machine learning algorithms for automatic stitch generation, and improved integration between digitizing software and embroidery machines.
Artificial intelligence and machine learning have the potential to revolutionize the digitizing process. Explore how AI and machine learning algorithms can assist digitizers in automating certain tasks, optimizing stitch selections, and improving overall efficiency.
Mastering true digitizing is essential for achieving high-quality machine embroidery. By understanding the principles, techniques, and tips outlined in this guide, you can enhance your digitizing skills and create stunning embroidered designs. Keep exploring and pushing the boundaries of digitizing, and embrace the future trends that will shape the world of machine embroidery. With dedication and practice, you can become a true master of the art of machine embroidery.
Sign up to receive our email, delivering the latest stories straight to your inbox.